Raspberry Pi (RPi) is an amazing development board with almost endless possibilities. My journey with RPi continues, and my latest purchase included the Raspberry Pi HQ camera. This a bit pricey piece of electronics ($80) comes now with exchangeable lenses sold separately, obviously (another ~$40). Nonetheless, the new camera hardware makes a substantial difference in the image quality received from RPi, particularly to cheap Camera V1 clones. A recent update of the Raspberry Pi operating system improved the camera handling from the shell. Still, for now, Python-based camera operations are relatively tricky and require quite a good background in driver programming (more about compiling Python binding to libcamera can be found here ). To use the camera’s full potential, I decided to go for the newest RPi OS, Bullseye, with libcamera already preinstalled with the system. My try at compiling Python bindings of libcamera was not quite successful. Thus, I decided to make an unsophisticated workaround that turned out to work relatively well. If something is stupid, but it works, it’s not stupid.
The idea for the script is simple: libcamera-still is called within a Python script as a system command but with file naming and folder organization defined in Python. libcamera-still is used with two options that are optimized for night long-exposure timelapse photography:
### keeps the white balance fixed at values that look good for long exposure
--awbgains 2.2,2.3
### Skips gain optimization and immediately starts photo acquisition
--immediate
Example code is shown here:
run_libcamera.py ⬇️
import os
import datetime
import argparse
import time

parser = argparse.ArgumentParser(
    description='Long exposure with libcamera')
parser.add_argument('--o', type=str, help='output folder', default='/home/pi/Images/')
parser.add_argument('--t', type=int, default=30,
                    help='exposition time')
parser.add_argument('--g', type=int, default=5,
                    help='gain')

args = parser.parse_args()

folder = '{}/{}/'.format(args.o,datetime.datetime.now().strftime("%y%m%d"))
os.makedirs(folder, exist_ok=True)
print('Saving to {}'.format(folder))

while True:
    filename = folder + datetime.datetime.now().strftime("%y%m%d_%H%M%S") + '.jpg'
    os.system(
        'libcamera-still --shutter {} --gain {} --awbgains 2.2,2.3 --immediate -o {}'.format(float(args.t) * 1000000,
                                                                                                     args.g, filename))
Script runs infinitaly but can be stopped by pressing ctrl+Z. Images are saved in the folder with the date of recording. To process recorded images I also use Python. First I stack images using maximum projection and later render obtained frames as a short movie:
stack_images_lighten.py ⬇️
import os.path
import matplotlib.pyplot as plt
import numpy as np
import tqdm

import glob
import imageio

def avg_img(img):
    avg = np.average(img)
    return avg

def max_imgs(img1, img2):
    max_ = np.maximum(img1, img2)
    return max_

### Get the files from the directory, in the sorted manner
files = sorted(glob.glob('H:\\night_sky\\220226\\*.jpg'))

output_name = os.path.basename(os.path.dirname(files[0]))
print('Found {} images'.format(len(files)))

first_file = True

### For keeping the average photo exposure
average = []

for n, file in tqdm.tqdm(enumerate(files)):

    ### For the first image just load it
    if first_file:
        stack = imageio.imread(file).astype(float)
        average_intensity = avg_img(stack)

        first_file = False

    ### Calculate maximum projection between the previous image and next
    else:
        img =  imageio.imread(file)

        average_intensity = avg_img(stack)
        average.append(average_intensity)

        stack = max_imgs(stack, img)


    ### Save maximum projection every n images
    if n%50 == 0 and n != 0:

        ### Save file with leading zeros
        imageio.imsave('{}_{}.jpg'.format(output_name,f"{n:04d}"), stack.astype(np.uint8))


imageio.imsave('{}_final.jpg'.format(output_name), stack.astype(np.uint8))

### Plot the average intensity statistics per image
plt.plot(range(0, len(average)), average)
plt.xlabel('Image number')
plt.ylabel('Average Intensity')
np.save('{}_average_light.npy'.format(output_name), np.array(average))
plt.savefig('{}_average_light.png'.format(output_name))
To render the movie from obtained frames one can use this script:
render_video_from_images.py ⬇️
import imageio
import glob
from skimage import transform

files = sorted(glob.glob('220226*.jpg'))

### This will require imageio-ffmpeg
writer = imageio.get_writer('220226.mp4', fps=4)

for file in files:
    img = imageio.imread(file)

    ### scale image (1,1,1) means no scaling, (1,1) drops channels
    img = transform.rescale(img, (0.3, 0.3, 1))

    writer.append_data(img)

writer.close()
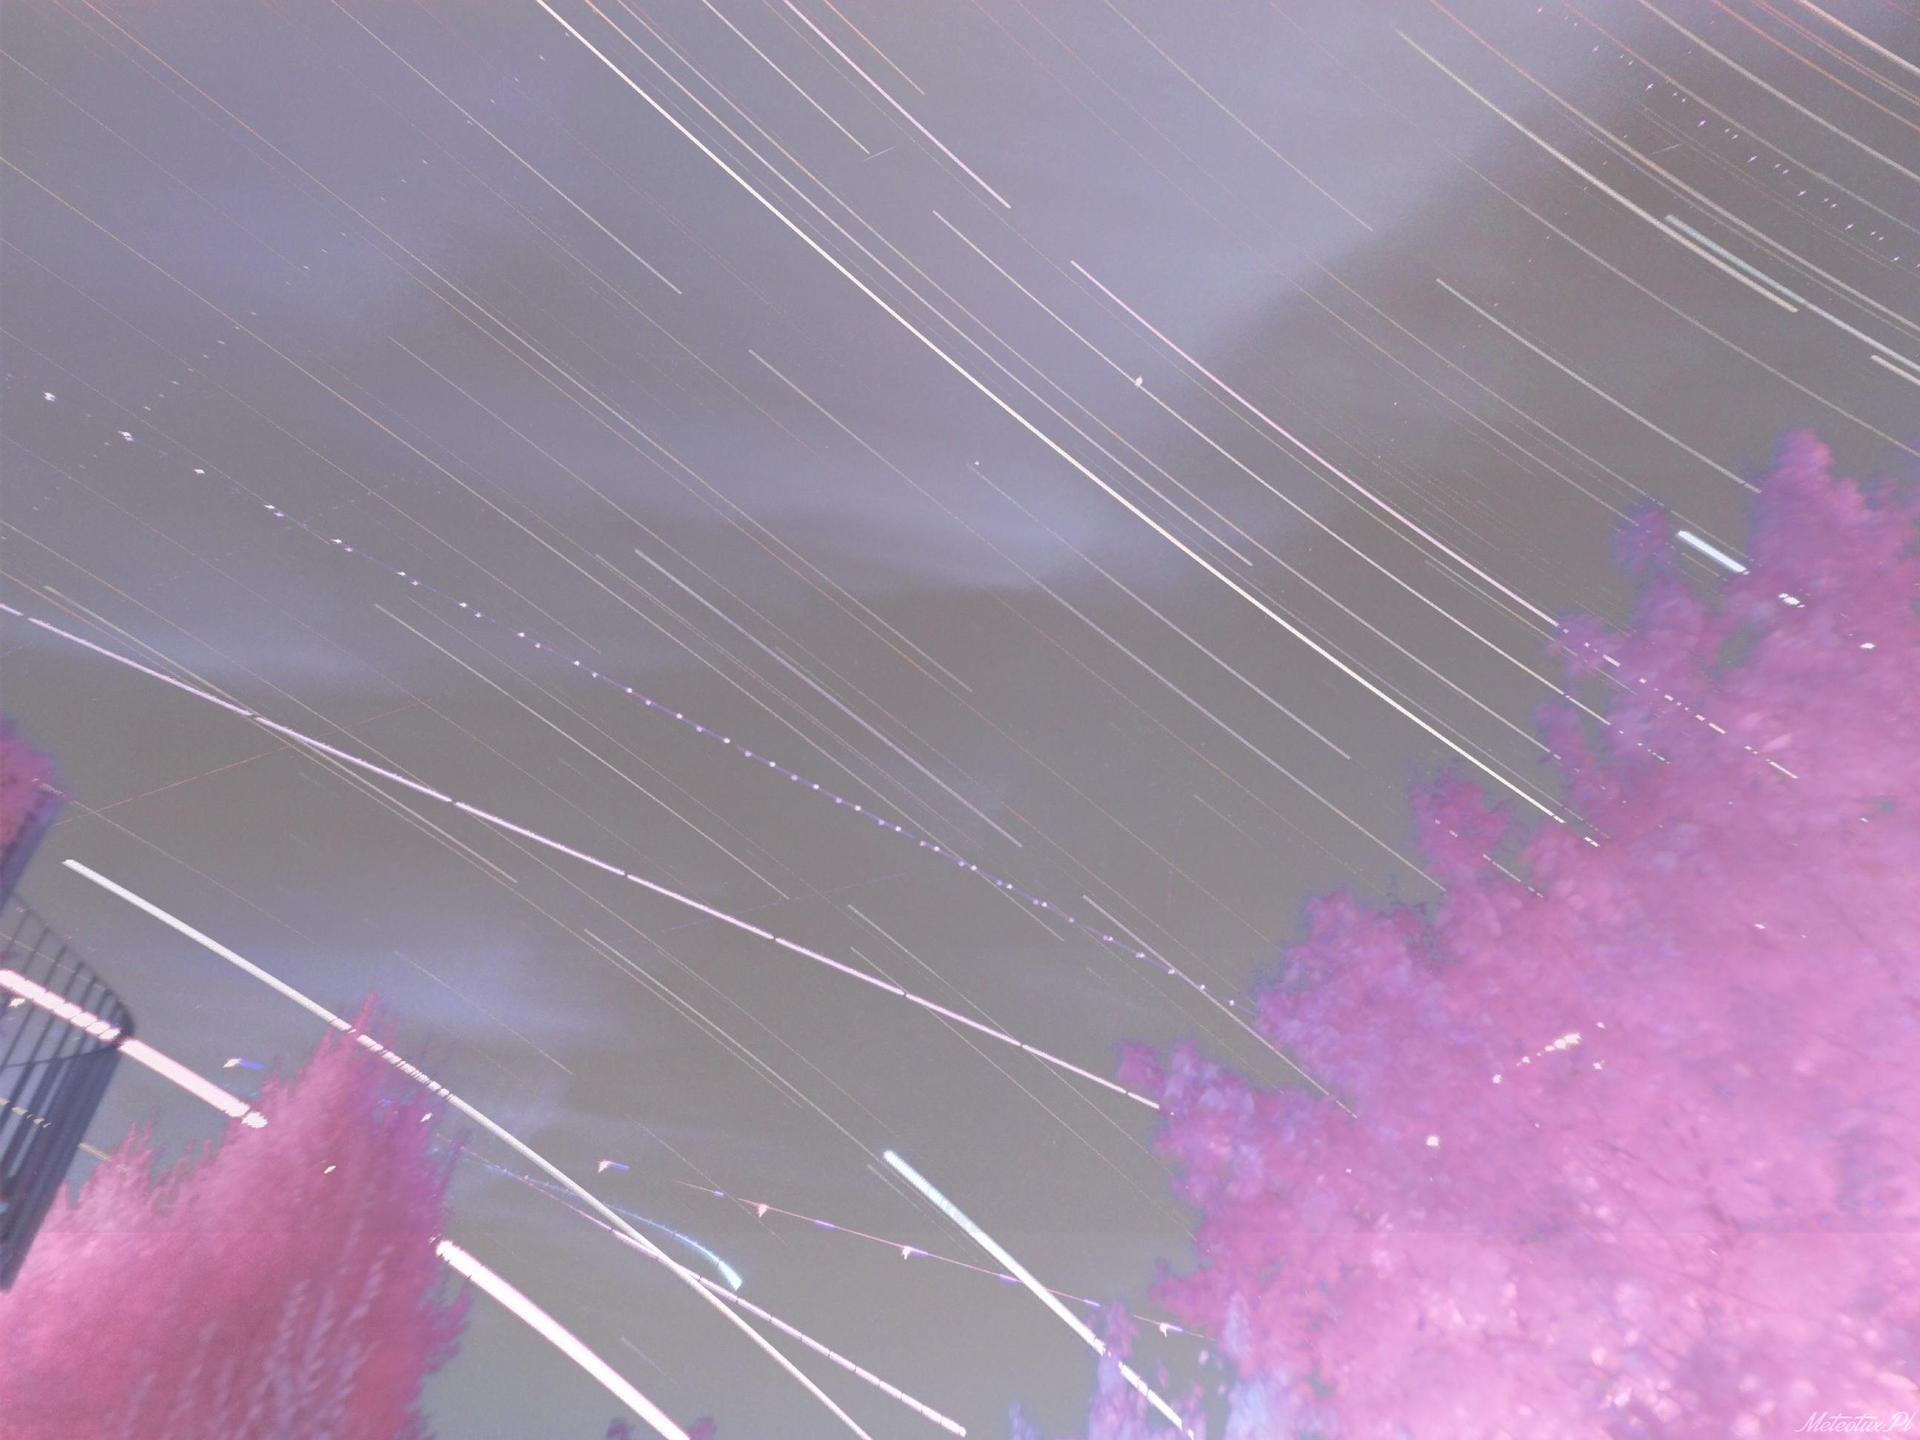
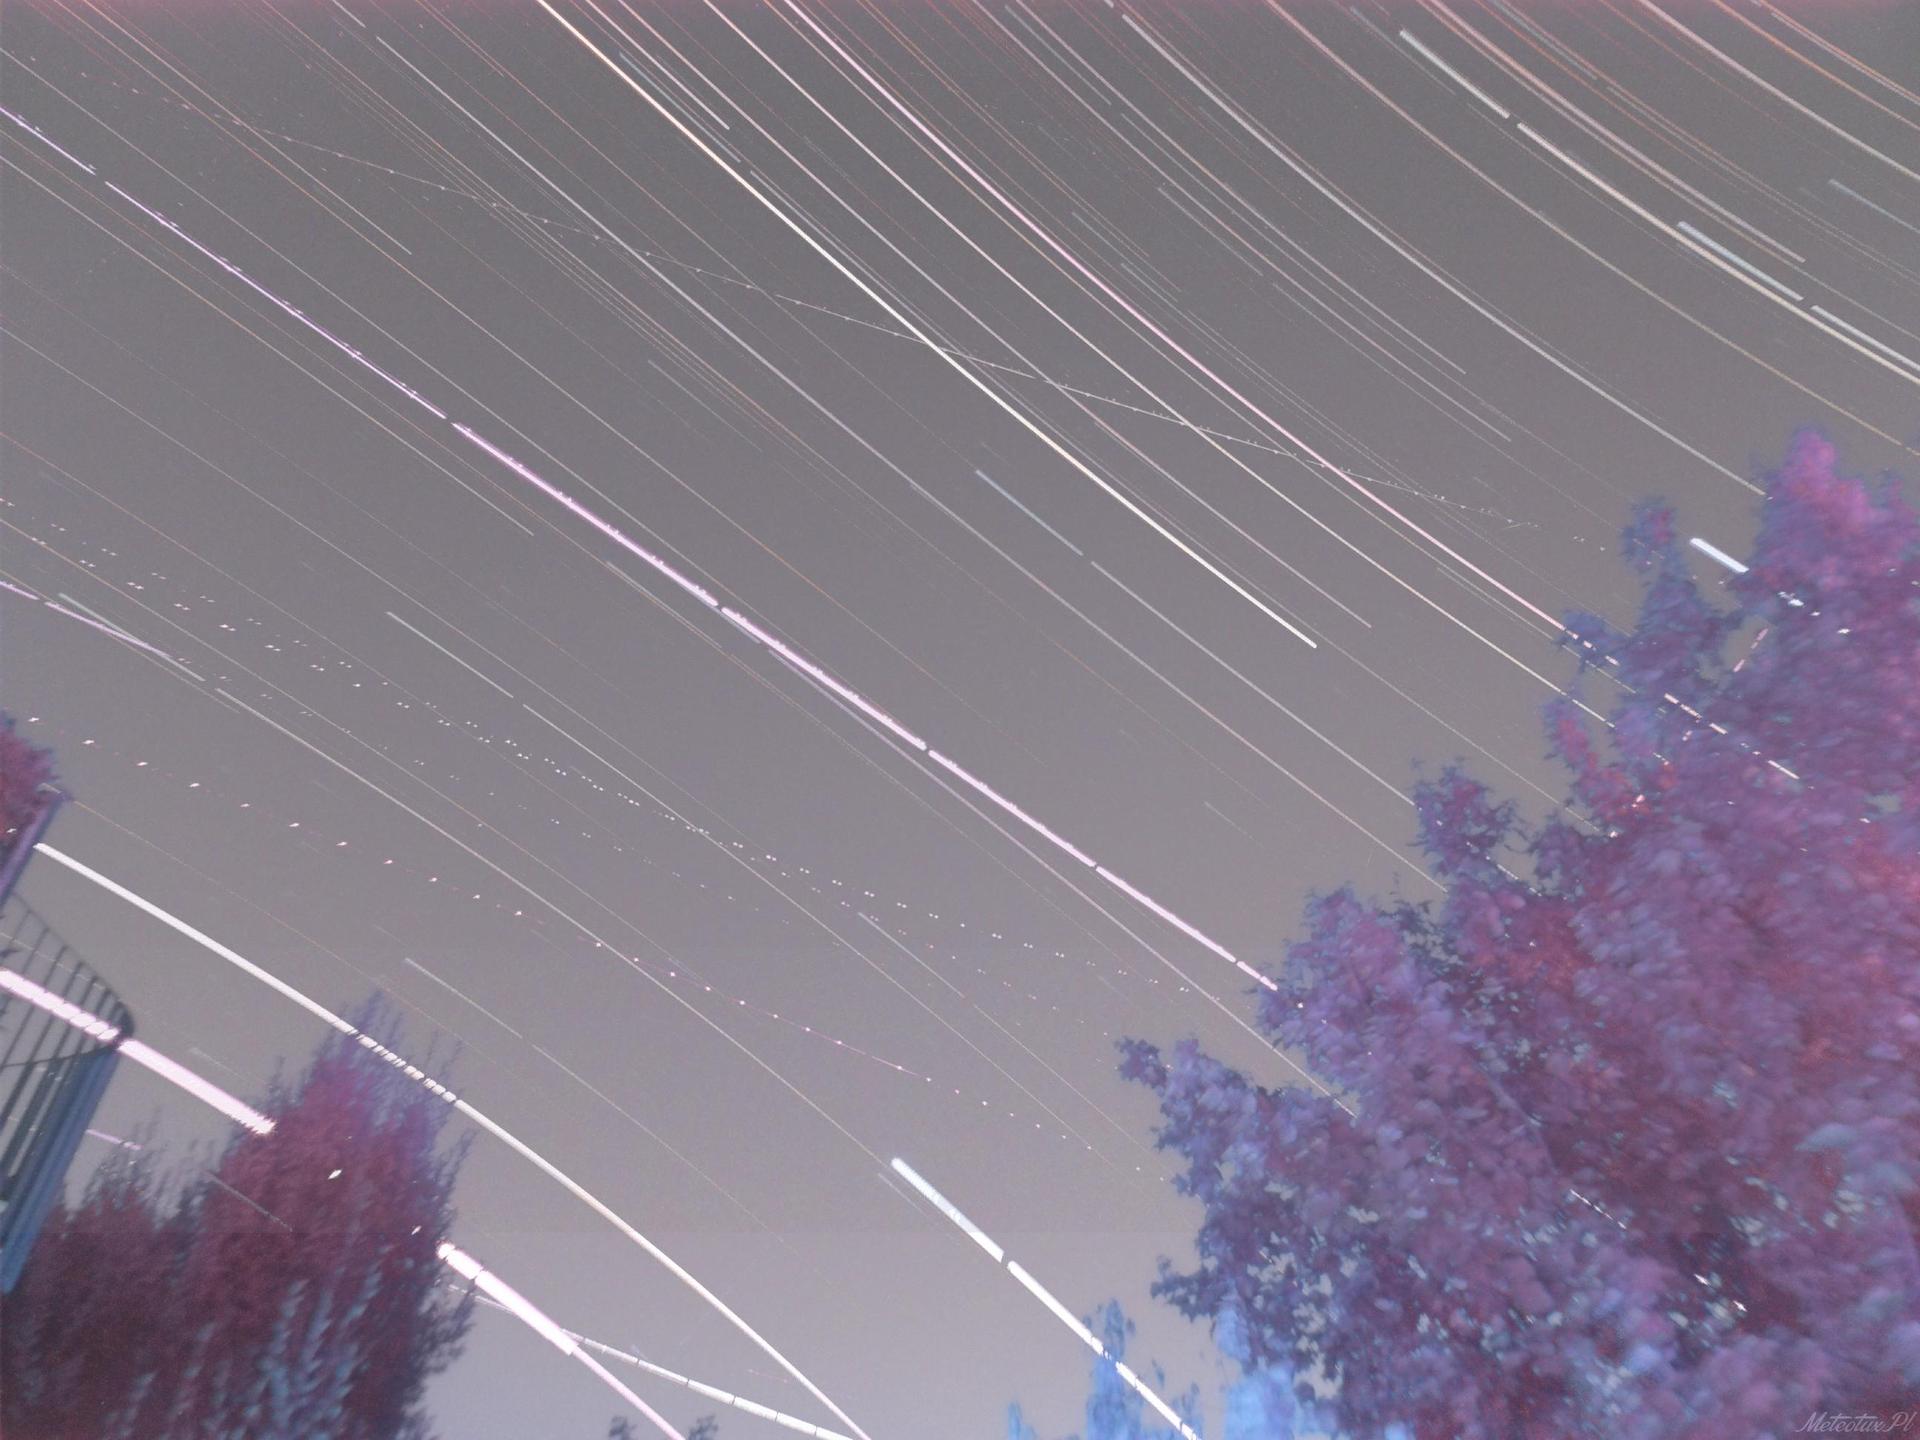
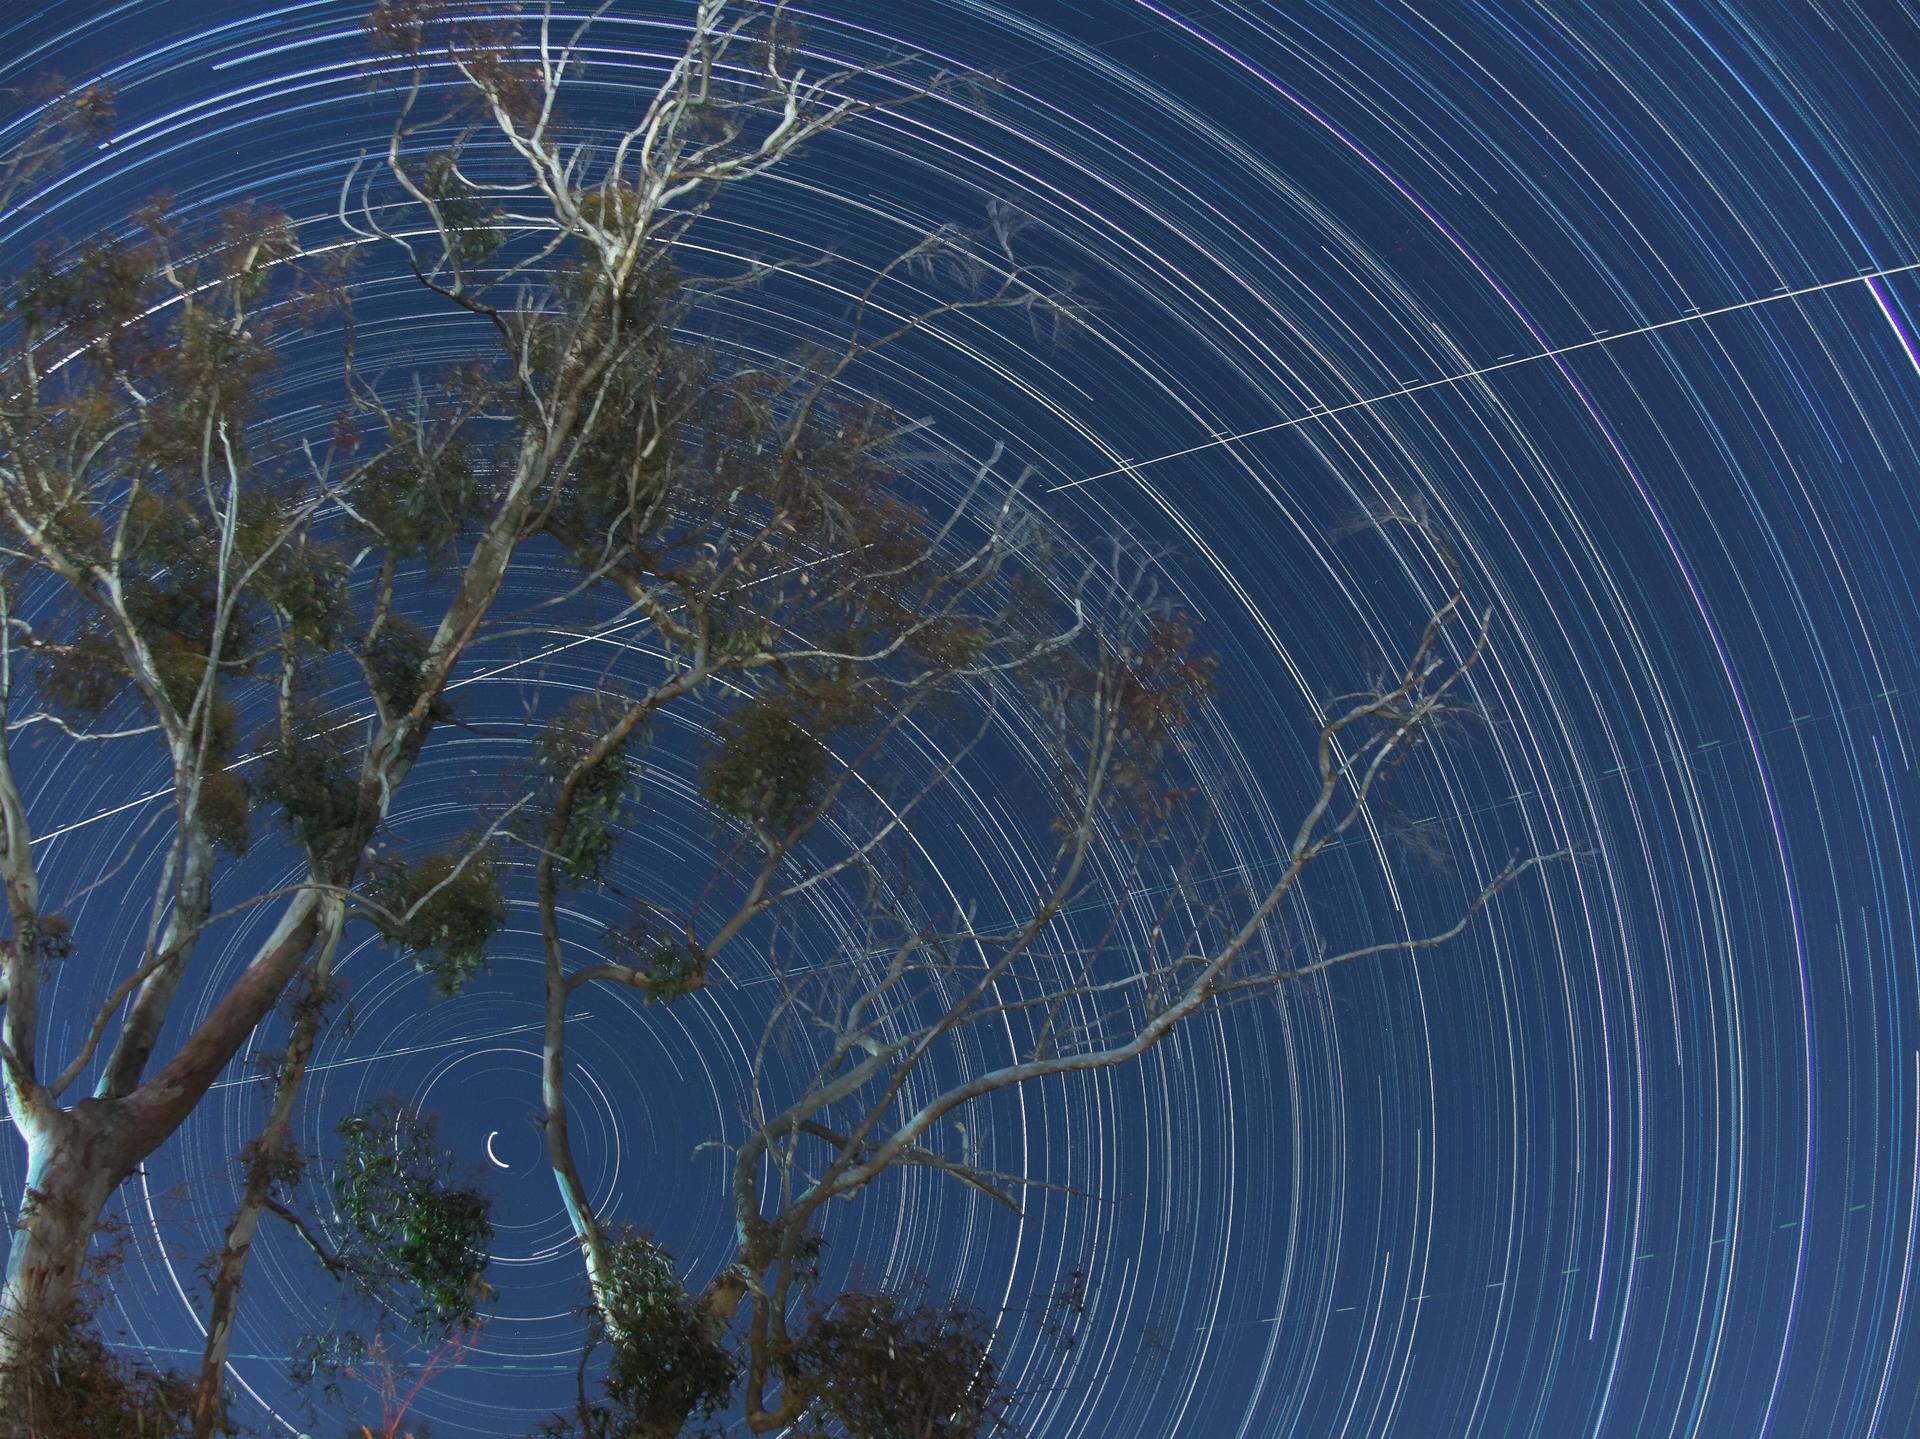
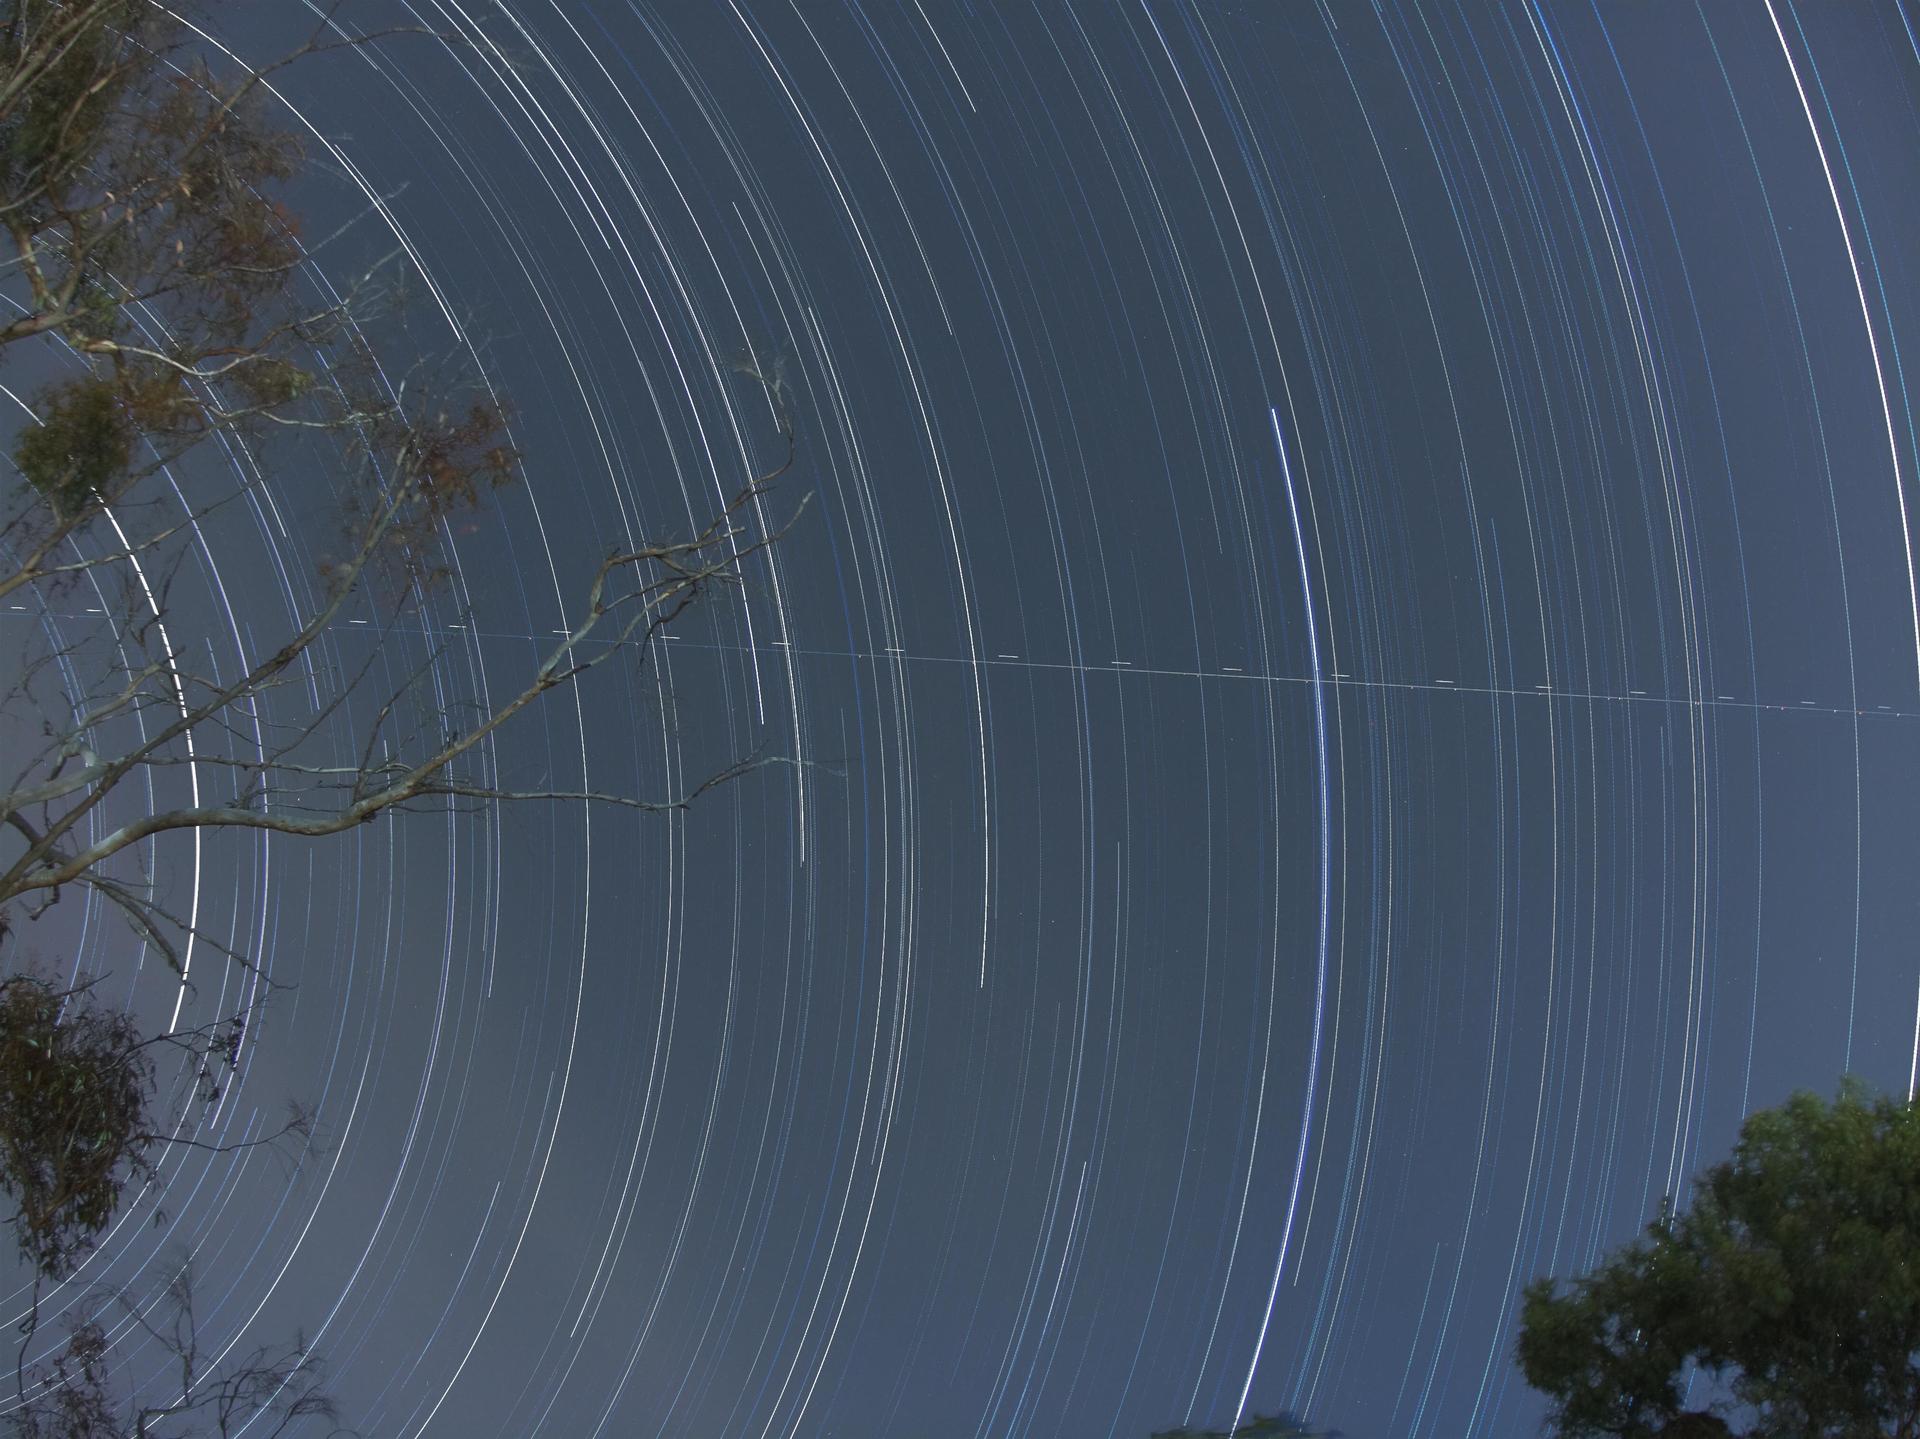
The videos below are the results from two ~9h recordings using HQ Rpi Camera (exposure 30s).
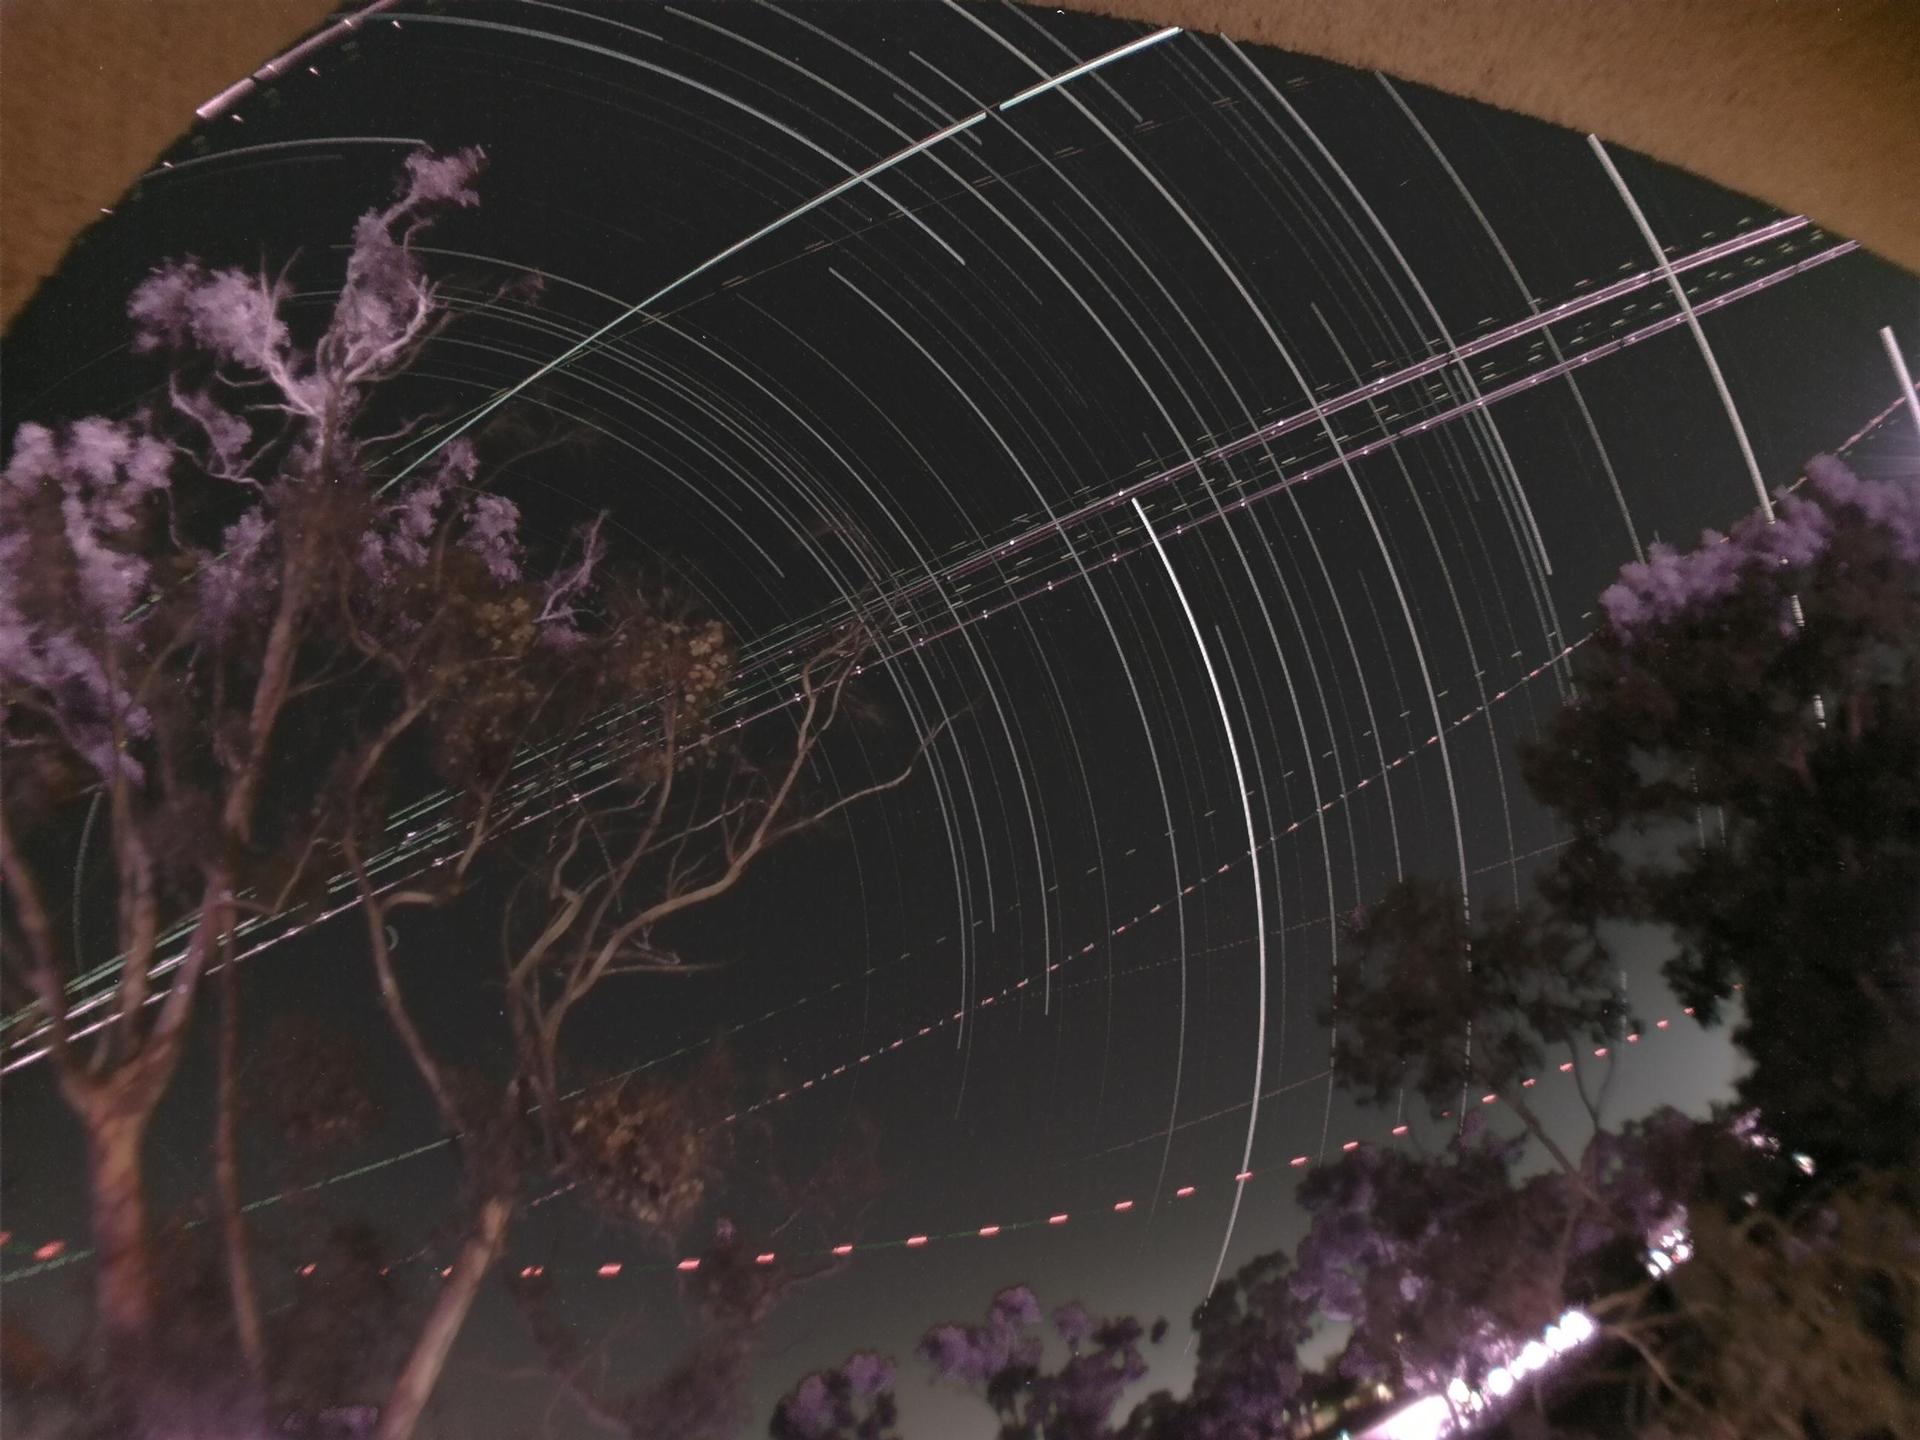
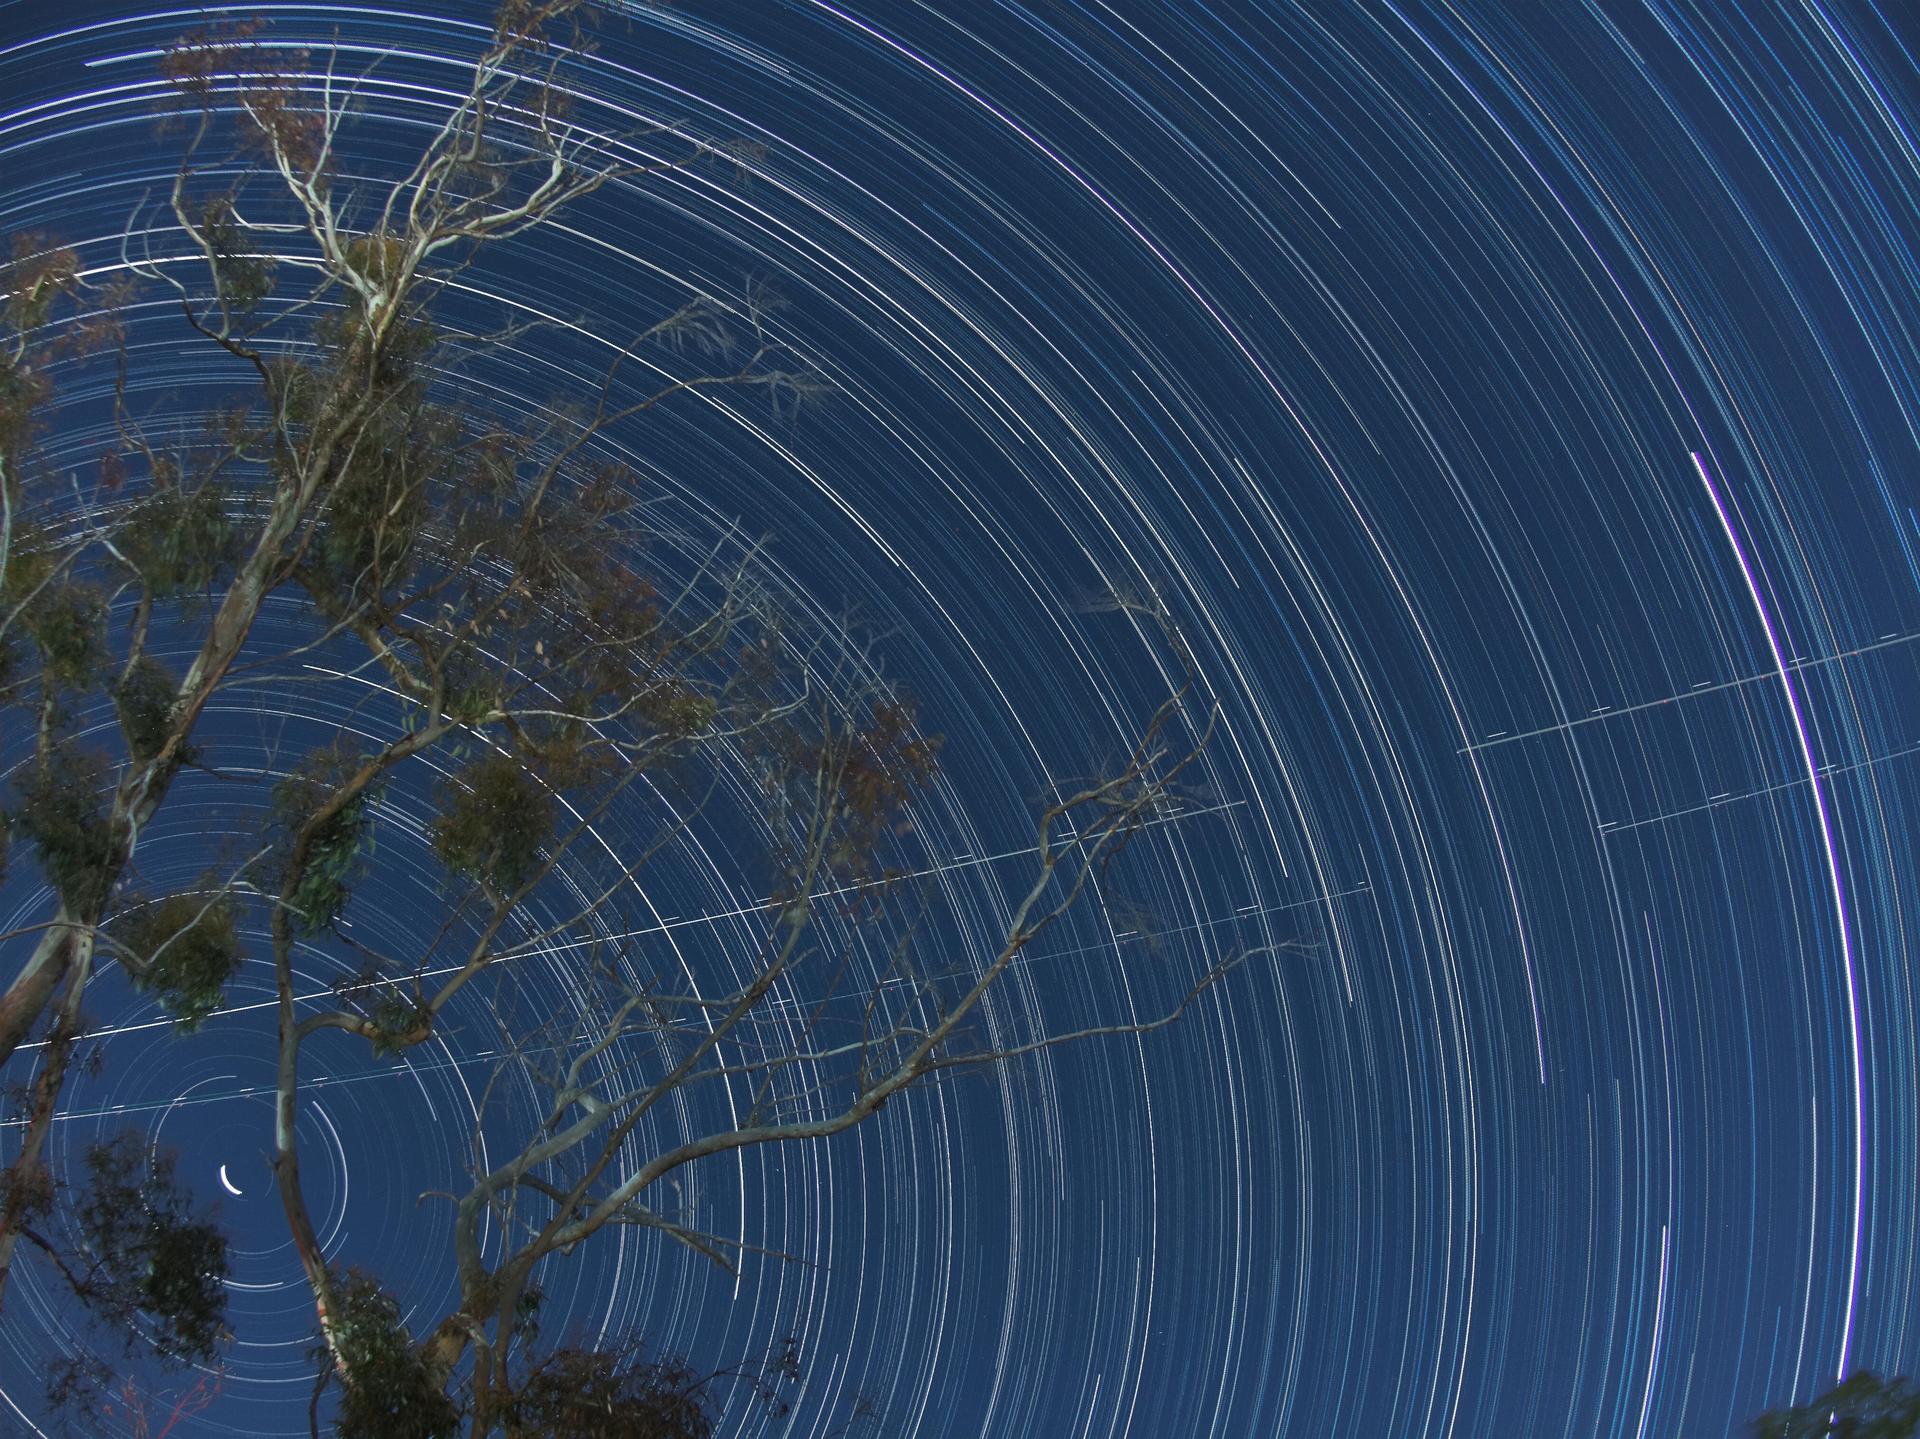
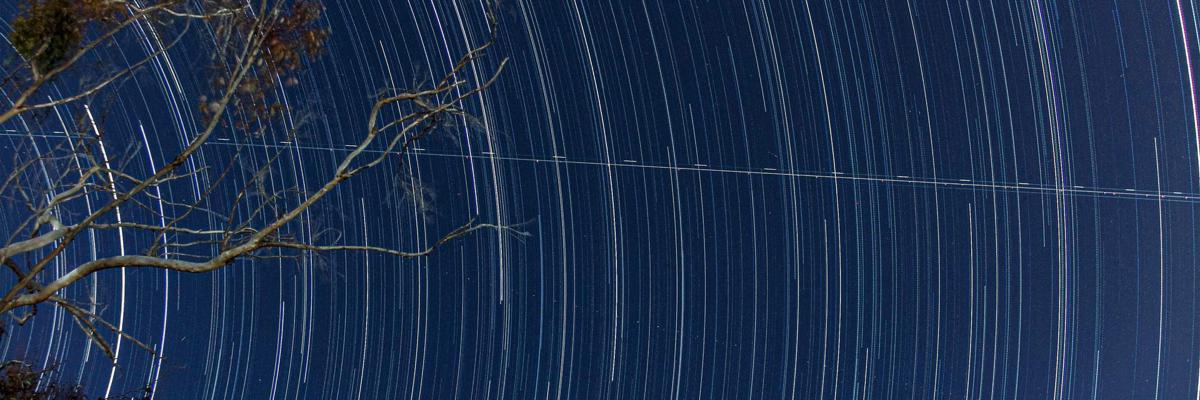
This movie was taken with an old V1 camera where the maximum exposure was only 6s.
The difference between those two cameras is significant in image quality and price. Hence, if you have an extra $150, I recommend checking the HQ camera out, especially for night sky photography.
If you would be intersted in puchasing the new HQ camera and lenses you can check it on Amazon (visible without adblocker):